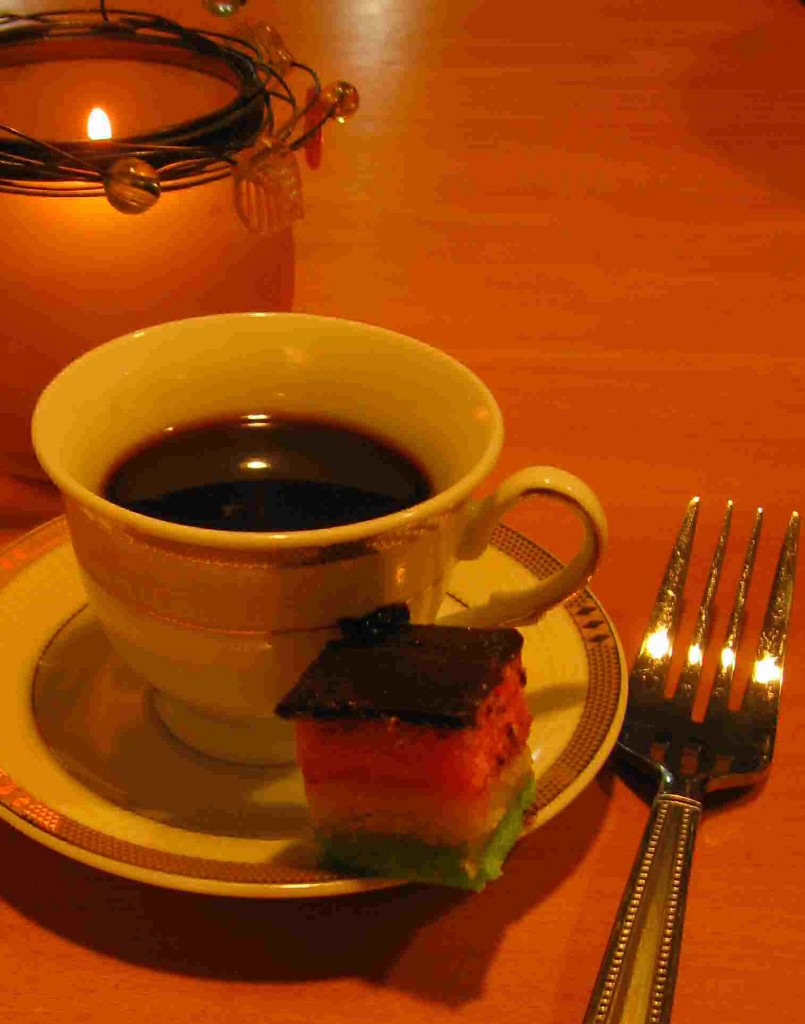
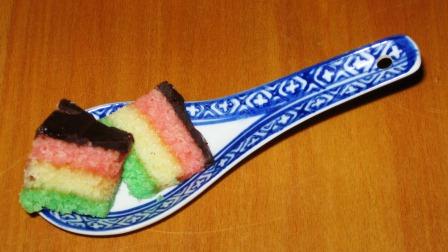
One of the greatest gluten-free interests we had was recreating this Christmas cookie. We first encountered it in Better Homes and Gardens magazine in the 1970s. Back then, the recipe called for 10 drops of green food coloring and 8 drops of red (for the different colored layers). Now, in the December issue of Gourmet (2005), the same recipe has appeared under the name of Seven-Layer Cookies, but with 25 drops of each color of food coloring and with chocolate icing on both the top and the bottom. This larger amount of food coloring produces a much more garish cookie. With the bright colors and chocolate icing on top and bottom, it seems like the three-car garage of cookiedom. We prefer the original, smaller amounts of food coloring, and chocolate only on the top. Gf-Zing! presents the recipe here, adapted for gluten free cooking with gf flour and extra almond extract to make up for the flavorless rice flour, and including a link to how to make your own almond paste.
8 ounces gluten free almond paste
3 sticks butter
1 cup sugar
4 eggs, separated
1 1/2 teaspoons almond extract
2 cups gluten free cookie flour mix
1/4 teaspoon salt
10 drops green food coloring
8 drops red food coloring
12 ounces apricot preserves
4 ounces gluten free semisweet chocolate
You need 3 pans, each 9×13″ to make these cookies, or use the same one over and over.
Grease the three pans, line them with wax paper, and grease the wax paper.
In your food processor, mix the almond paste, sugar, egg yolks, butter, almond extract and salt. Beat for 5 minutes, until the mixture is really smooth. Add the gluten free cookie flour and mix well.
In a separate bowl, beat the egg whites until they form stiff peaks. Fold the dough from the food processor into the egg whites.
Remove 1 1/2 cups of the batter and spread it all over the bottom of one of the three prepared pans. Remove another 1 1/2 cups of batter to a separate bowl, add the green food coloring and spread the green batter in a second pan. To the last remaining batter, add the red coloring. Spread this red batter in the third pan. The batter spread in the pans will be very thin – only a quarter of an inch or so.
Bake in a preheated oven 350 degrees for fifteen minutes. The dough will start to pull away from the edges, and start to brown around the edges. The top will be springy to the touch. Remove the pans from the oven and set aside.
Melt the 12 ounces of jam in a pan. Some of the recipes for this cookie call for straining the jam, but this is not necessary. Enjoy the lumps! Turn out the green cake on a flat cookie sheet that is lined with tin foil or some other durable material. Spread half the jam on the green cake. Top with the plain colored cake. Spread the remaining jam on the plain colored cake. Top with the red cake. Put a piece of plastic wrap on the top of the red layer. Put a cookie sheet on top. Place canned goods, or heavy weights, around the cookie sheet to weigh down the cake and glue the layers together. If you have a heavy wooden cutting board, you can use that instead. Set aside in a cool place for several hours or overnight.
Melt the chocolate. If you like bitter chocolate, add an ounce of bitter chocolate to the semisweet chocolate. Remove the cans, cookie sheet and plastic wrap from the top of the cake, and then spread the red cake layer with melted chocolate. Allow to harden (this will take some time – at least 30 minutes). Slice off the edges of the cake and put these scraps on a plate for sampling. Slice the cake into squares, about 1″ on a side, using a sharp knife and a ruler (to mark where to cut). You may have to run hot water over the knife, then dry it with a clean towel, from time to time so that crumbs don’t get onto the chocolate topping.
These can be stored in an airtight container in the freezer, with wax paper between the layers of cookies, and removed as needed. If cut into 1″ squares, over 100 cookies are produced.
Make sure to use all gluten free ingredients.


